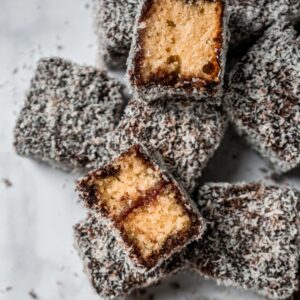
These traditional classic Australian Lamingtons are delicious chocolate icing and coconut covered fluffy sponge cakes. A wonderful treat to enjoy during every season!
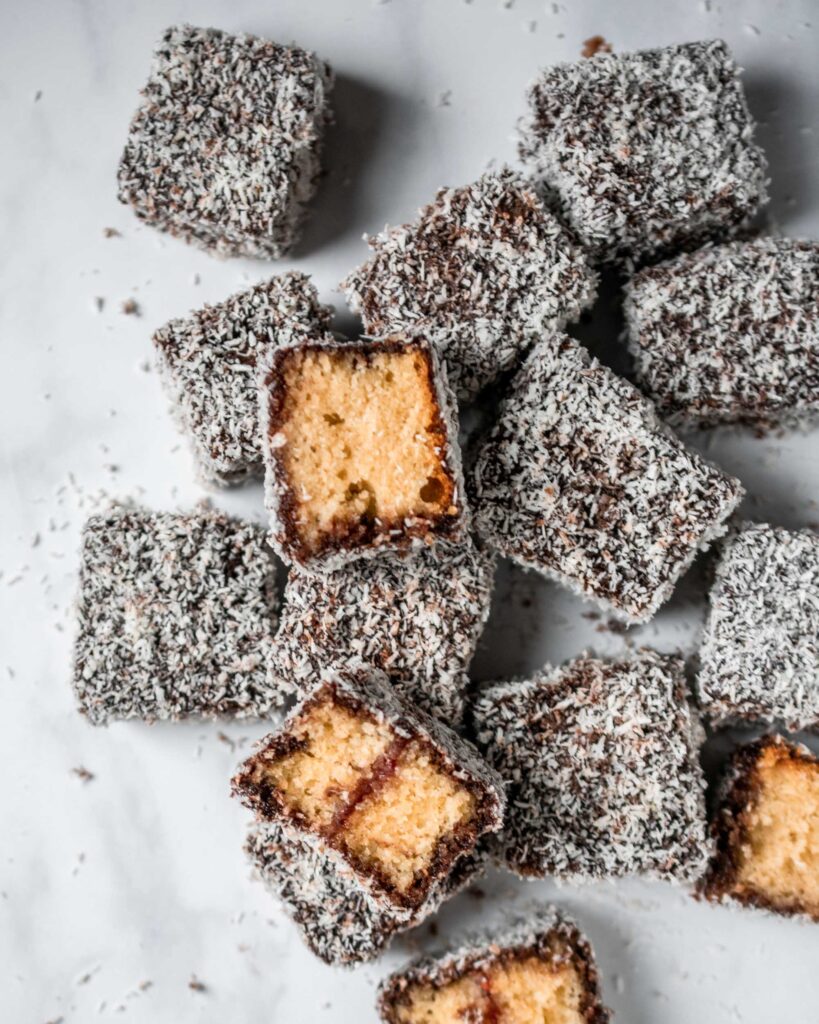
This isn’t my first lamington recipe here. In fact, with this recipe I’m only going back to its roots. A couple of years ago, I posted one of my favourite and also most popular recipes here; Pink Lamingtons (or as we call them in Malta; Pasti mir-Roża). These lamingtons, or as we call them in Malta, were the pink kind made with a jelly coating. I made them as these are a popular Maltese treat which you can easily find available at every bakery. However, in the recent years, I discovered that actually they derive from the Classic Australian Lamingtons which are in fact covered with chocolate icing! Therefore, now I want to share with you also this incredibly delicious version as well.
What are lamingtons
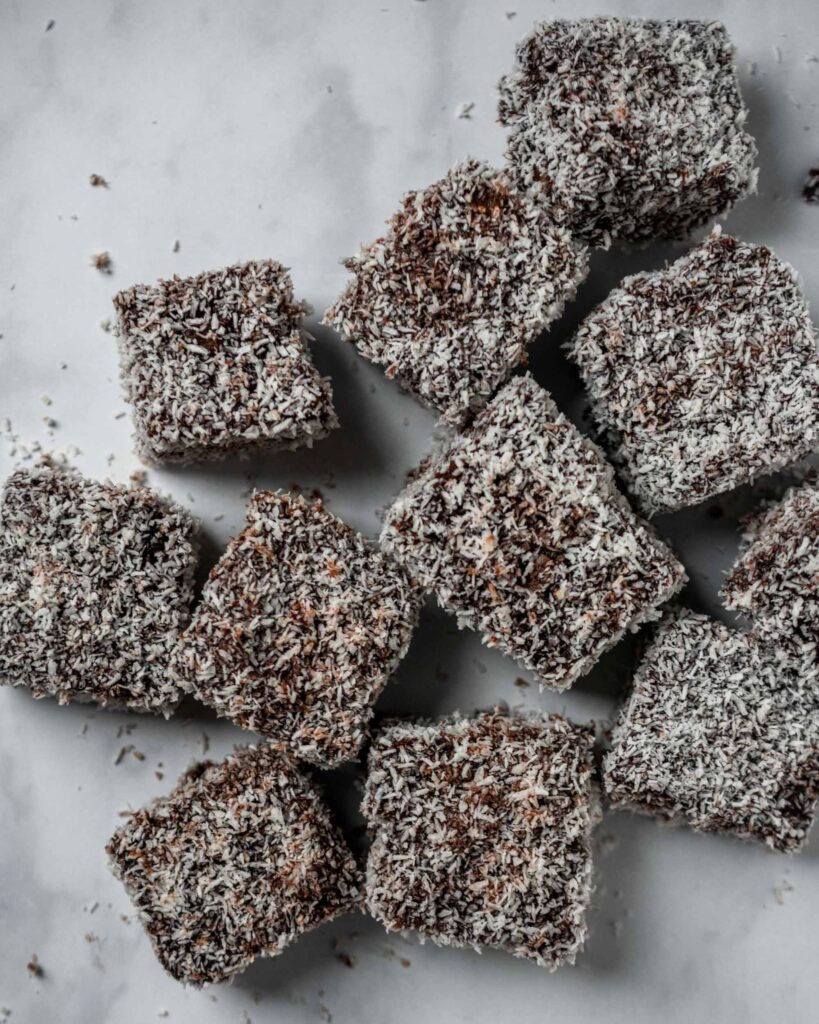
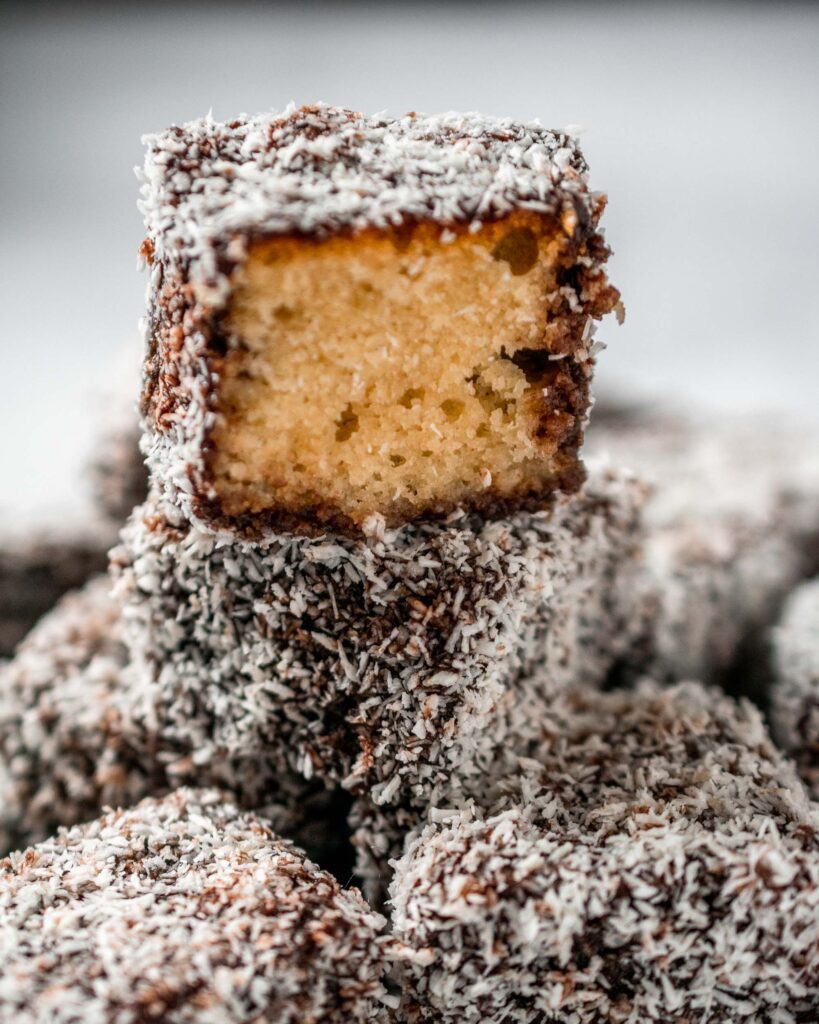
As already mentioned, lamingtons originate from Australia, although this is greatly disputed by New Zealand. This dessert is popular in both countries and both claim its invention. However, the first published recipe is to be found from Australia, so that is why we are going with that. The famous original lamington is made from a fluffy sponge cake that is dipped in a luscious velvety chocolate icing and then covered in desiccated coconut. Traditionally, that is that, and they are not filled with anything. However, in the recent years there has been a surge of lamingtons which are filled with raspberry jam or whipped cream, or even both at the same time. You can also find other flavours emerging for fillings and also coatings, while some other are getting even more creative by making lamingtons fancier and serving them with an additional topping. Even though, all of these versions sound incredibly amazing, I am focusing on the plain ones with a small mention of the ones filled with raspberry jam.
How to make these chocolate covered lamingtons
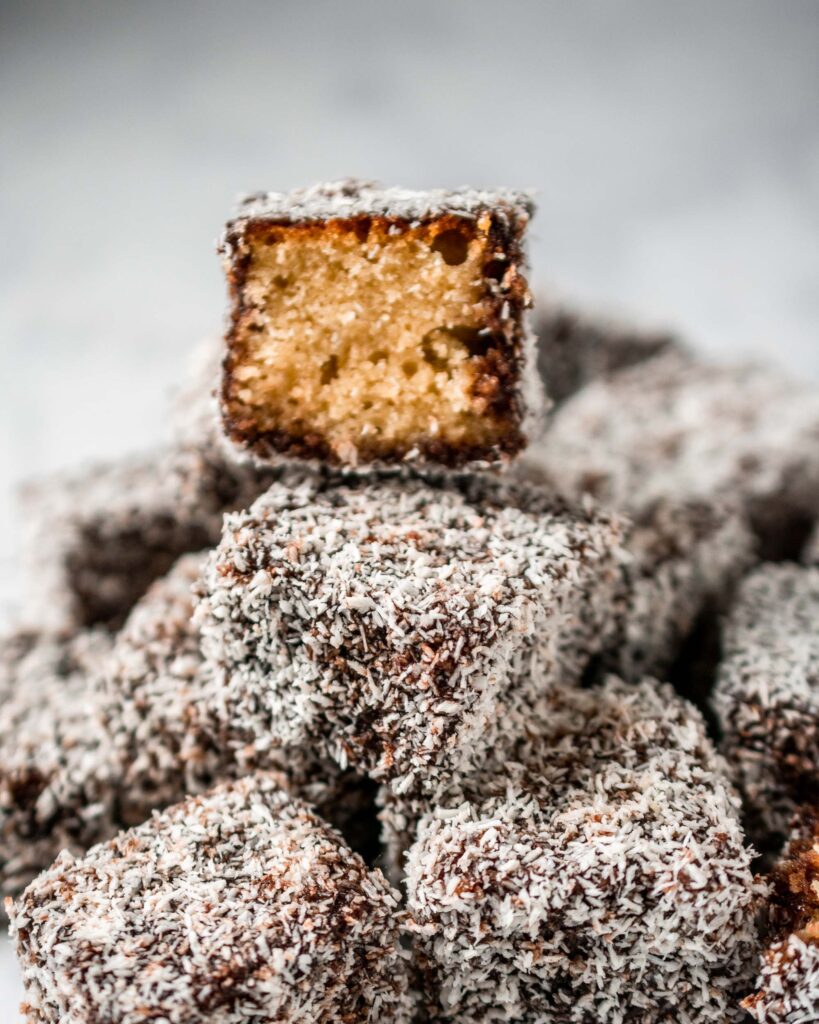
They might look intimidating with all the different coatings but trust me they are not! I will share some tips and tricks further on to make life easier for you while making them. First, you need to start making the sponge cake. Ideally, I would recommend that you prepare it a day in advance so it won’t be too crumbly when coating it. To make the sponge cake, start by whipping together the butter and the sugar until nice and fluffy. Gently add an egg at a time, while continuing mixing so that everything incorporates together nicely. Then add the vanilla with the flour in batches. Lastly, drizzle in gently the milk. Bake the sponge in a large tin or else in two small ones. Once it’s done, let it cool, cover it tightly until ready to use.
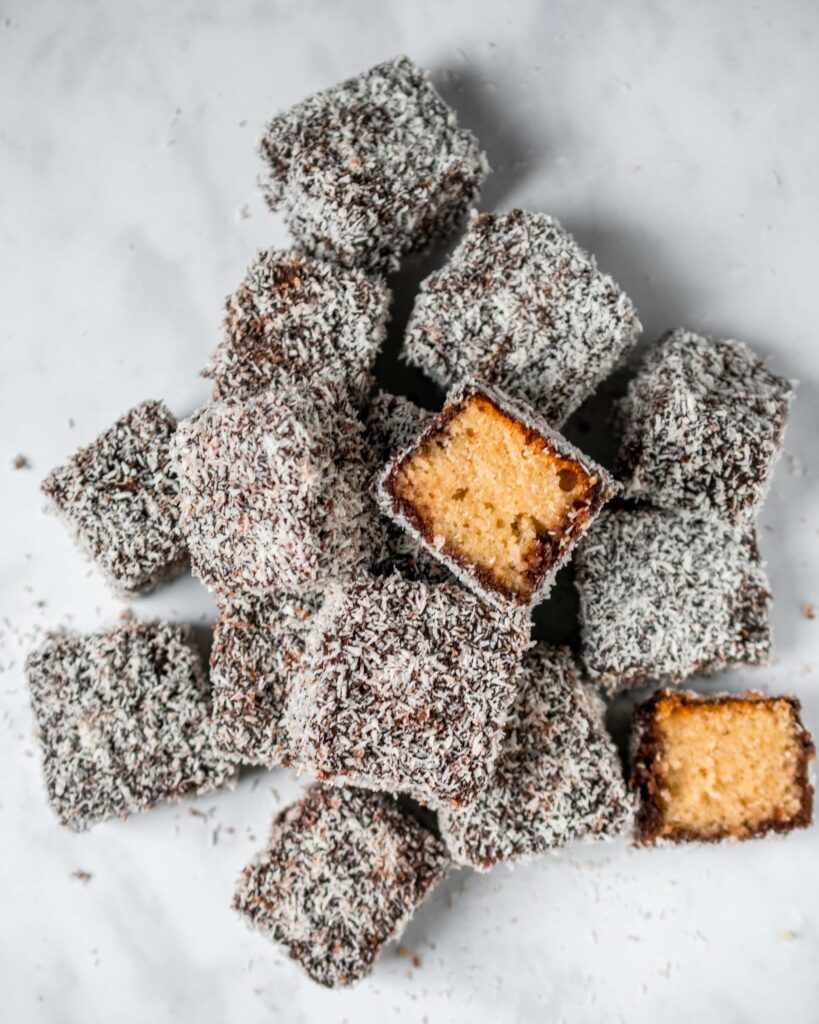
When ready to make the lamingtons, cut the edges of the sponge cake and cut in rectangular or square shaped pieces. Prepare the chocolate coating by sieving together the icing sugar and cocoa powder. Then, gently start adding the melted butter and warm water while whisking. Make sure that there are no lumps. Place half of the icing in a bowl. In another bowl add some desiccated coconut. With two forks gently dip a piece of sponge cake in the chocolate icing, cover it completely. Lift the coated cake and let it drip any excess icing. Transfer to the bowl with coconut and with other two forks cover it completely. Set on a rack so that it dries up.
How to make filled lamingtons
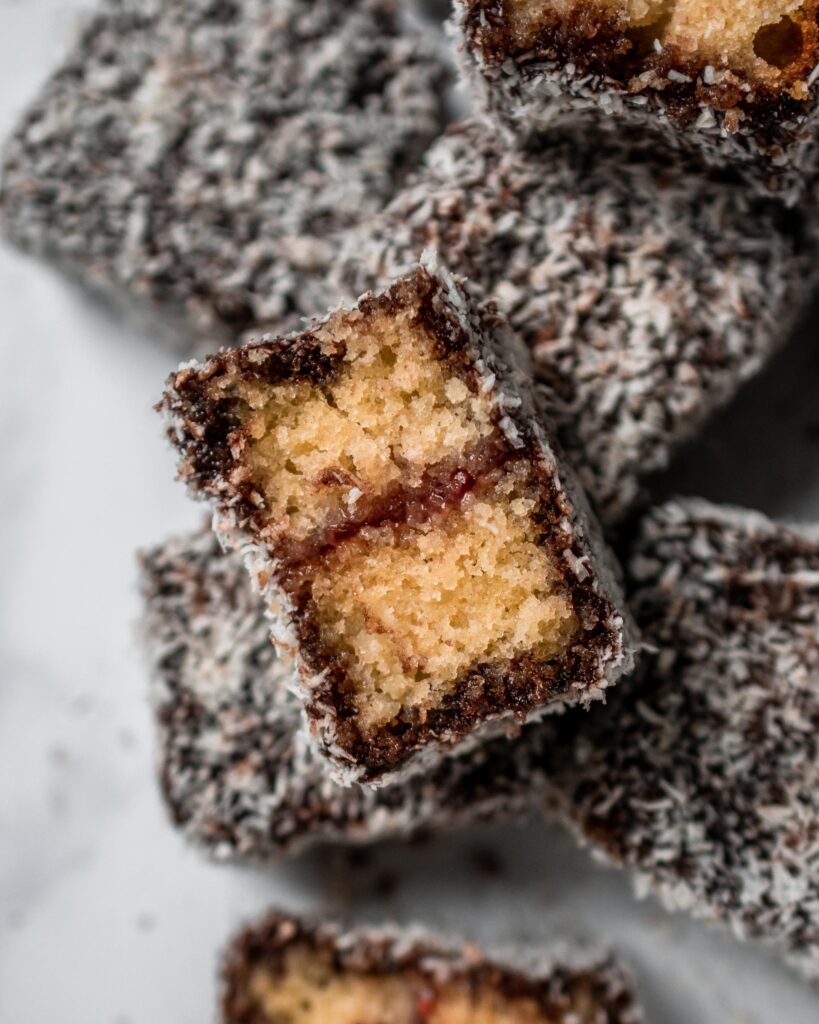
Basically the process is the same: the main difference is that you need to be extra careful whilst coating as you will be dealing with a lamington made from two pieces of cake sandwiched together. To fill the cake you can either cut the cake in half horizontally with a leveler. Or else cut the cake through the middle, spread the jam on one piece of sponge cake and top with the other portion. Then cut into smaller pieces. You can also cut each small piece and do the filling as you go along. For the filled ones, I have also find a few recipes who recommend that you freeze for about 15 minutes before coating as they may hold better.
FAQs
Tips and tricks
Here are some good reminders and tricks to keep in mind whilst doing these lamingtons!
- As the sponge cake is a delicate cake, to avoid a lot of crumbing whilst coating ideally the cake is let to rest and firm up. For this reason, it’s best to cook the cake a day before or else to even freeze it before coating. Doing so will drastically reduce the amount of breakage.
- To avoid that the crumbs ruin your icing glaze, I suggest that you do not use all the chocolate icing at once. I like to divide the icing in two different bowls, so when one has crumbs in it, I can switch it. This will give a good overall outcome of the lamingtons.
- I also do the same with the coconut! I add the coconut gradually as the chocolate icing glaze will make all the coconut chunky. Thus, I recommend to start with a small amount of coconut.
- To help with the above problem, I also suggest to let the lamington drip well from the glaze before coating it with the coconut. This will limit a lot of icing leftover in the coconut.
- For the icing, it’s important to make sure that it’s not too thick as it won’t absorb in the sponge, however, on the other hand it shouldn’t be too runny as this would give a light coat.
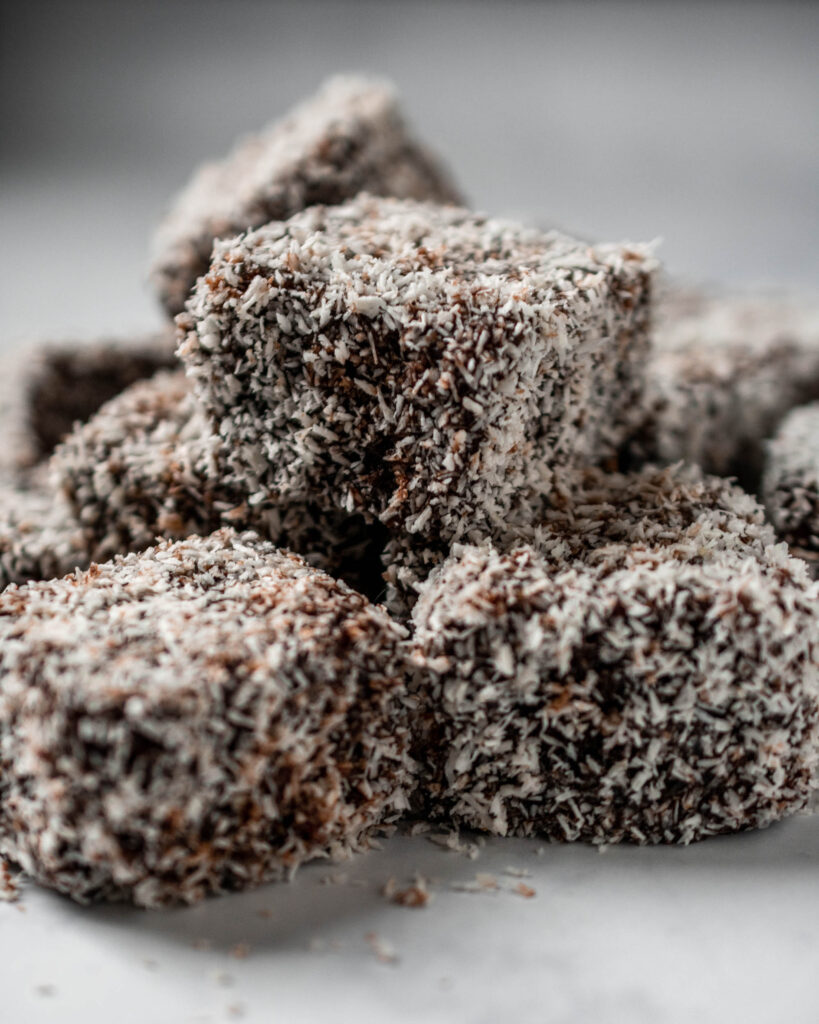
- To coat the lamingtons, I like to help myself with two forks for each coating. This will reduce the mess and limits the amount of cake breaking! Especially, if you have filled the lamingtons!
How to store lamingtons?
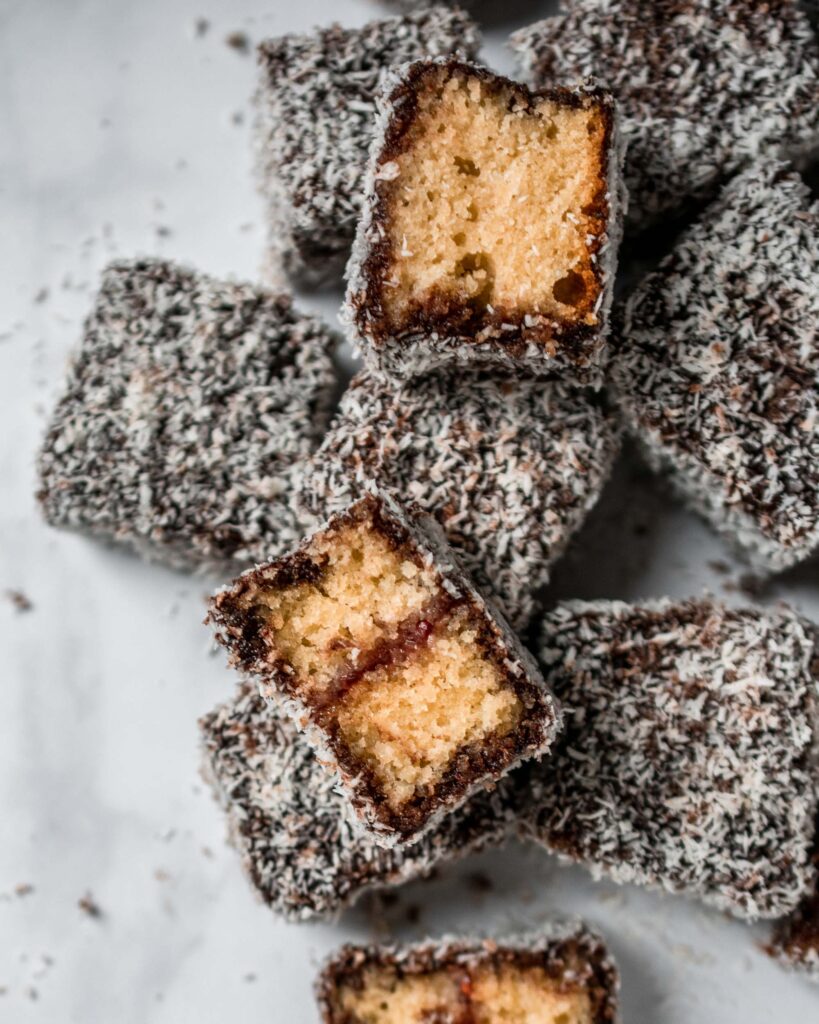
You can keep lamingtons in an airtight container at room temperature for about 4 days. I don’t like to store them in the fridge, as I find that they dry out. Alternatively, lamingtons can be stored in the freezer for about 3 months. Simply defrost in the fridge or on the counter before eating.
Classic Australian Lamingtons
Ingredients
For the Sponge
- 250 g butter
- 250 g sugar
- 4 eggs
- 200 ml milk
- 350 g self-raising flour
- 2 tsp vanilla extract
- 1/2 tsp salt
For the Chocolate Coating
- 300 g icing sugar
- 35 g cocoa powder
- 30 g butter melted
- 150 ml warm water
- fine desiccated coconut
- raspberry jam optional
Instructions
- Preheat the oven to 180°C or 350°F. Line a square or rectangular tin such as a 30cm x 20cm one. (I used two 9x9inch square tins) with parchment paper and set aside.
- In a bowl mix together the self-raising flour and salt.
- In a mixer or in a large bowl, cream the butter and the sugar together until you get a pale colour. Add the eggs to the mixture and mix well.
- Gently add the flour and the vanilla extract. Mix well until combined.
- Lastly pour in the milk and mix until it’s incorporated. Don’t over mix the batter.
- Pour the batter into the tins and tap on the bench to remove any bubbles formed in the mixture.
- Bake the sponge for about 20 minutes or until a toothpick comes out clean.
- Once baked, let the sponge cool in the tin before transferring to a cooling rack. Let the cake cool completely before starting the next step. Ideally this is done a day before.
- In a deep bowl mix together all the chocolate coating ingredients, except the coconut. Mix well and make sure that it has a runny texture. If it's too thick add some more warm eater.
- Cut the sponge into equal square or rectangles.* Slowly dip each piece of sponge into the chocolate icing, with two forks make sure to coat each side. Afterwards, roll the dipped sponge into the coconut and lay on a tray.
- Repeat the process until all the pieces are covered in the chocolate and coconut. N.B. clean the coconut occasionally as chunks of coconut will form as you go along.
Notes
If you have any questions, feedback or comments on this recipe, please leave a comment below. Please also rate this recipe by double clicking on the stars below. If you did make this recipe, tag @apronandwhisk and hashtag #apronandwhisk, as I’m curious to see what you create!
Don’t forget to subscribe to the mailing list down below so to receive the recipe updates straight to your mailbox!



Leave a Reply