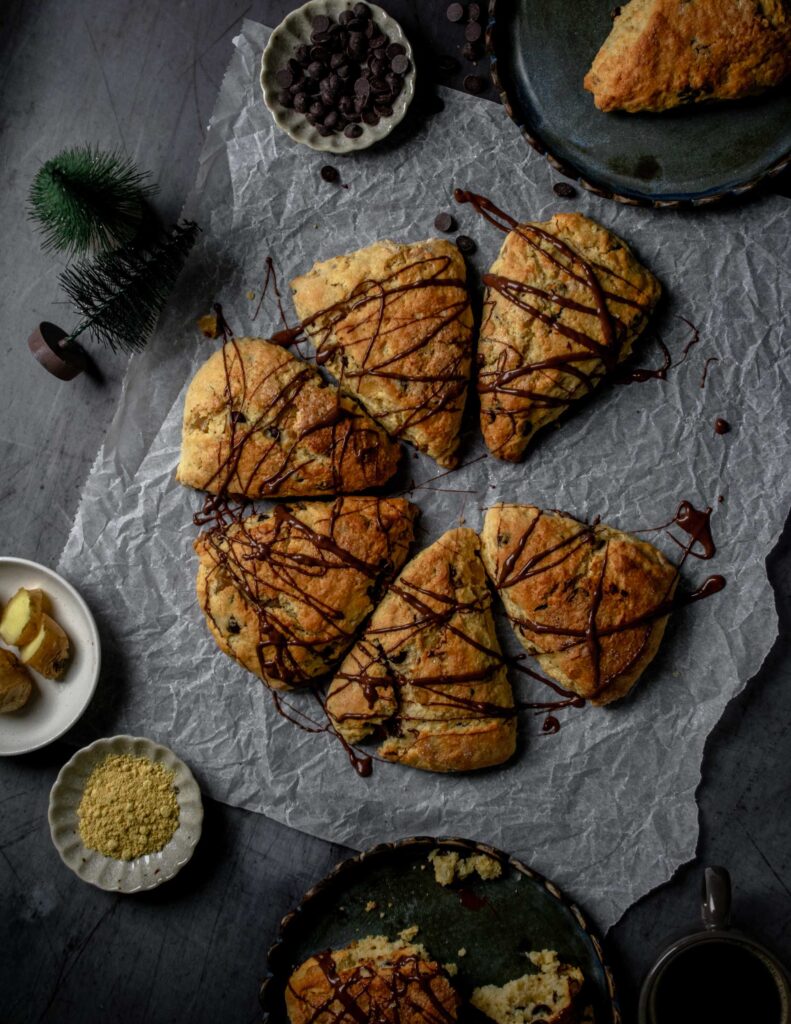
Flaky flavour packed ginger chocolate scones that are a perfect balance of sweet and spicy! Drizzle them with extra melted chocolate for added sweetness.
What are scones?
Scones are rich baked pastry which are flaky thanks to the butter in them. Either plain or stuffed with delicious fillings as these ones! To be enjoyed with clotted cream and jam or on their own. Scones are an ideal treat to have with a fresh cup of tea.
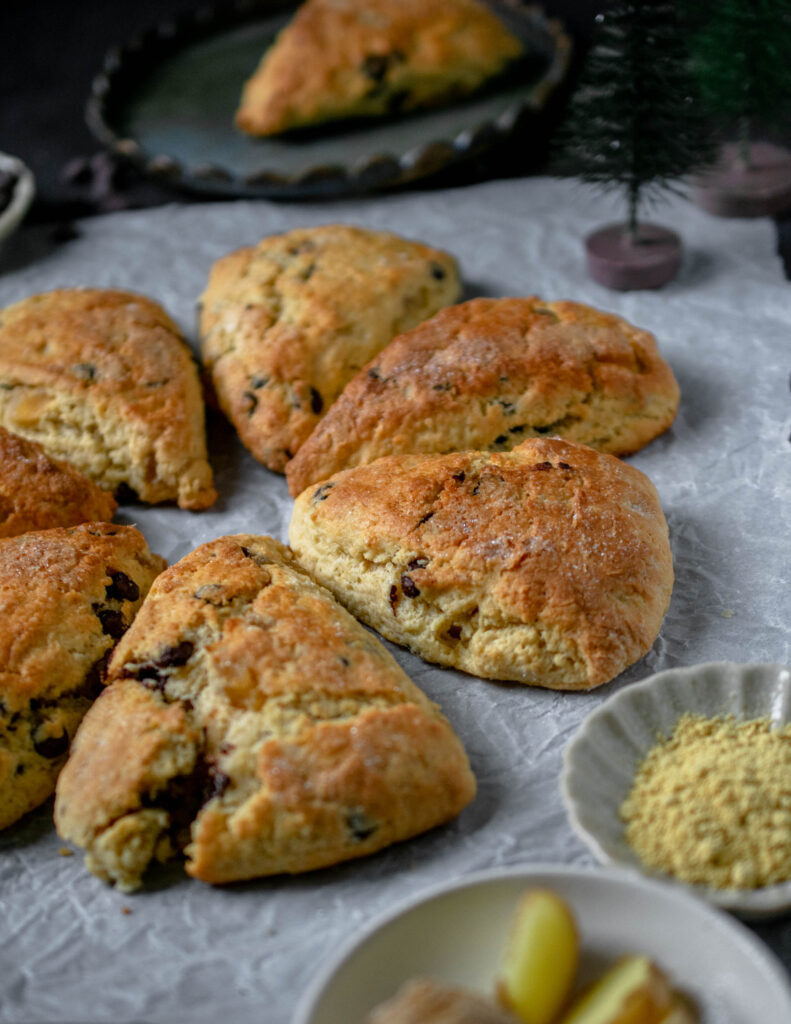
Ginger Chocolate Scones ingredients
Flour: I prefer to use all plain flour for baking.
Sugar: an important ingredient that makes or break your scones. Apart from adding that sweetness, sugar adds so much to the texture of the scones.
Baking Powder: the leavening agent for these scones which will give them some volume.
Butter: do not skimp on butter! Apart from adding a delicious taste, butter is responsible for the signature flakiness and texture of the scones!
Salt: for that flavour enhancement.
Egg: helps everything bind together and adds structure to the scones.
Buttermilk: or else heavy cream, are the base of all the richness of these scones.
Ground ginger: this will add a bit of spice and heat to the scones. You can decrease slightly the amount if you do not like a strong ginger taste.
Chocolate chips: to balance out the heat from the ginger, a drop of chocolate chips is perfect! These little puddles of melted chocolate will balance out the whole scone.
Candied ginger: for some bite and extra spice, use chopped up candied ginger.
How to make these scones?
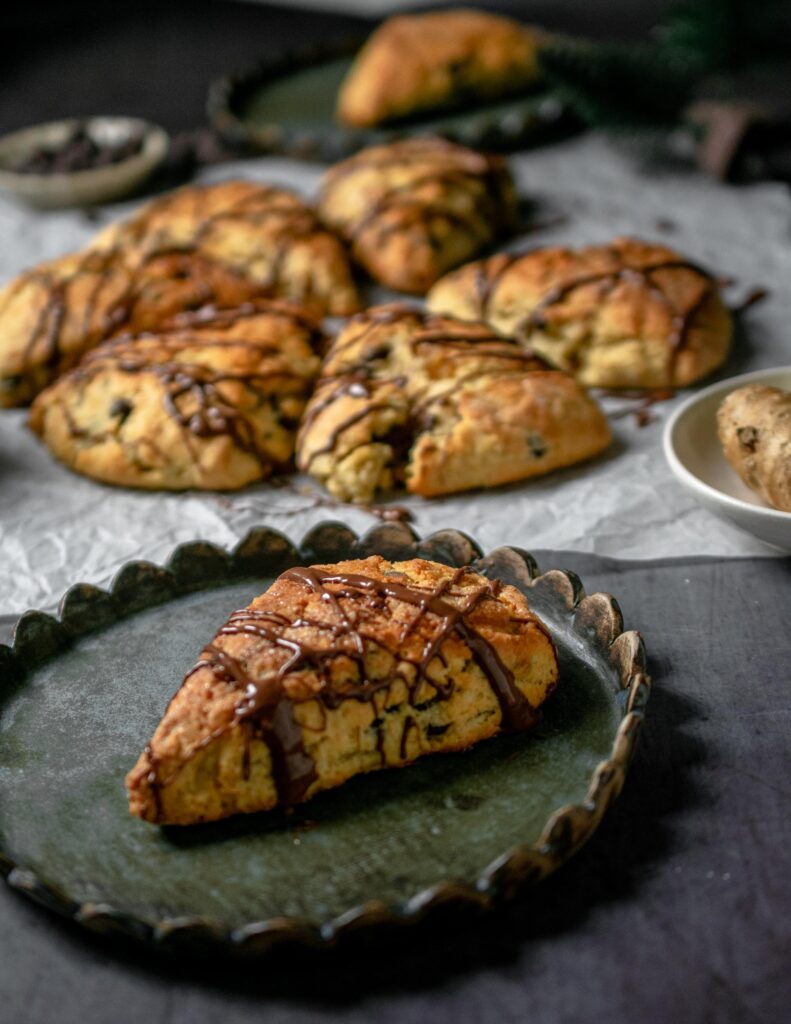
First thing to do is weigh all the ingredients beforehand, and keep the cubed butter stored in the fridge until ready to use. Alternatively, you can also store the butter in the freezer, and grate it when ready to use. Start by mixing the dry ingredients together. Add the butter and combine quickly with the dry ingredients. It’s important to work quickly and touch the mixture as least as possible so that the butter doesn’t melt. Finally, add all the other ingredients until a shaggy dough is formed. Do not worry if there is still flour visible.
FAQs
How to serve these scones?
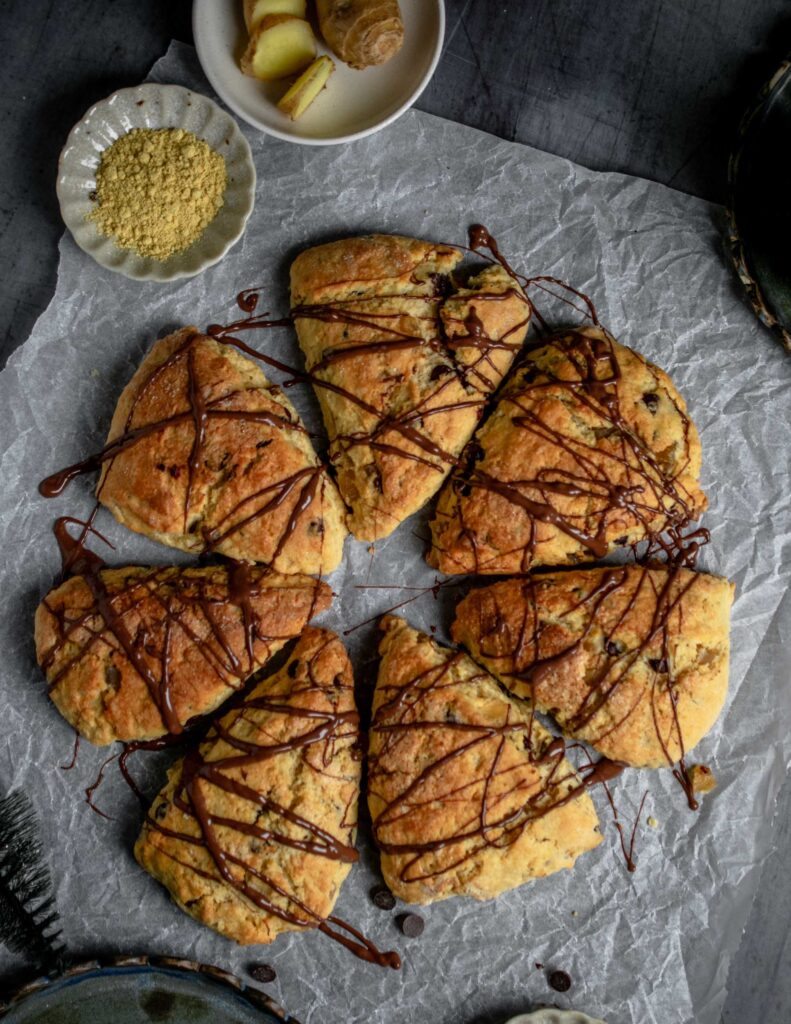
Serve these scones slightly warm or at room temperature! You can either pry them open and enjoy them with some clotted cream and jam. Or else you can simply enjoy them on their own. However, any way you serve them is delicious especially with a warm cup of coffee or tea.
How to store these ginger chocolate scones?
Prepared scones can be stored in air tight container for not more than 5 days in the fridge. You can also freeze them for about 3 months. Store unbaked scones in the freezer for about 2 months and cook from frozen. Therefore, you will need to cook them for slightly longer.
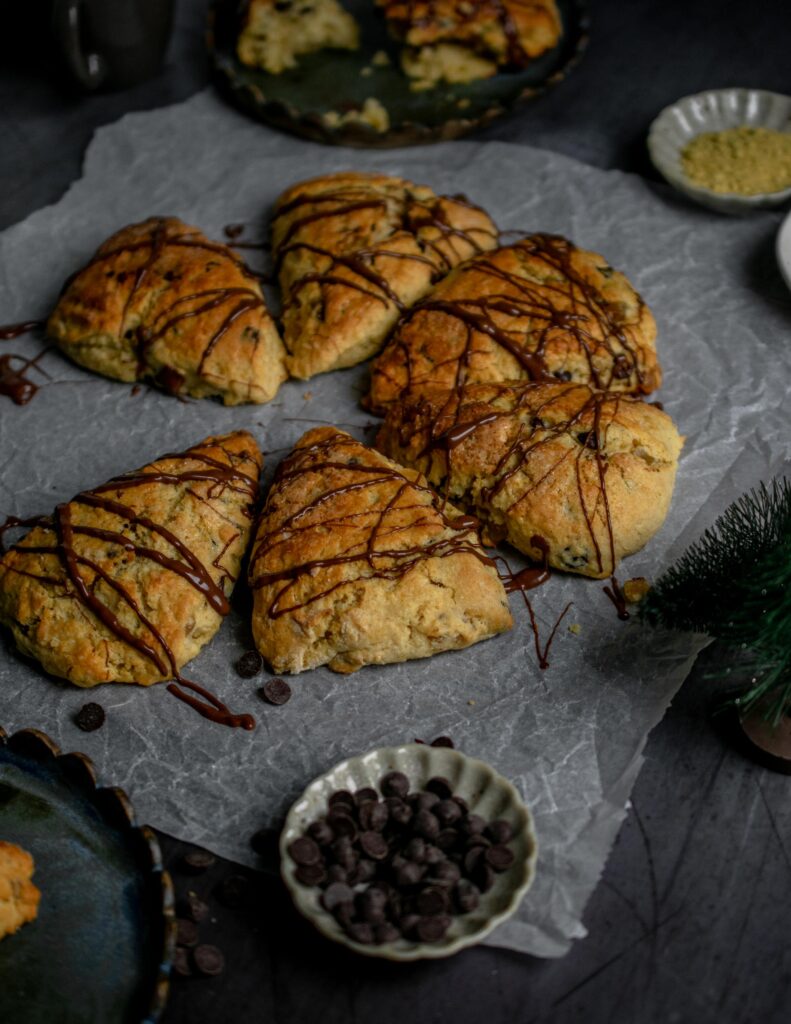

Ginger Chocolate Scones
Ingredients
- 250 g plain flour
- 70 g caster sugar
- 2 ½ teaspoon baking powder
- 125 g cold butter cubed
- ½ teaspoon salt
- 1 egg
- 120 ml buttermilk extra for brushing
- 1 tablespoon ground ginger
- 80 g dark chocolate chips
- 60 g diced candied ginger
- Optional: coarse sugar for topping
Instructions
- Preheat the oven to 200°C or 390°F. Line a baking tray with parchment paper. Set aside.
- In a large bowl, whisk together the flour, sugar, salt, baking powder and ground ginger. Add the cubed cold butter, and working with your fingertips combine to a crumbly mixture.
- In a small bowl, combine the buttermilk and egg. Add this mixture to the flour mixture gently. Mix until there is no liquid. Add in the chocolate chips and the candied ginger. Knead until everything is evenly distributed.
- On a lightly floured surface, drop the dough and shape with your hands into a disc of about 20 cm. With a sharp knife, cut into 8 triangles. Place the scones on the prepared baking tray.
- Brush the scones with some buttermilk and sprinkle with coarse sugar.
- Bake the scones for about 20-25 minutes until they are nicely golden brown.
- Let cool slightly before serving. Top with your favourite cream and jam!
If you have any questions, feedback or comments on this recipe, please leave a comment below. Please also rate this recipe by double clicking on the stars below. If you did make this recipe, tag @apronandwhisk and hashtag #apronandwhisk, as I’m curious to see what you create!
Don’t forget to subscribe to the mailing list down below so to received the recipe updates straight to your mailbox!





Leave a Reply