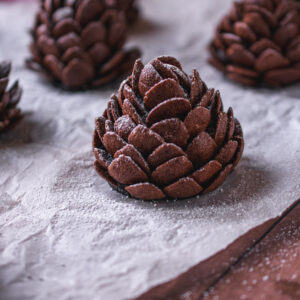
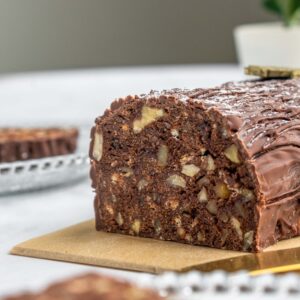
These Oreo Pinecone Truffles are an easy delicious treat you can make for the festive season! With only few ingredients you can create this show stopping dessert!
These past years I have been seeing these pinecones on all social medias, they truly are everywhere! There are multiple different ways and recipes for them, varying from simple ones to other more elevated ones. This year I finally gave it a go, as I wanted to create something easy with minimal ingredients, yet will be an eye catcher on every table! These Oreo Pinecone Truffles fit perfectly that bill.
Mainly for this recipe you only get to use 3 ingredients, and technically 4 if you will use icing sugar but that it optional. These truffles are made from crushed oreos combined with cream cheese. The pinecone shape is then created by inserting Coco Pops Choco cereal in the truffle. Although it’s very easy to make and only uses few ingredients, I have to be honest it take a bit of time, as placing the cereal slows everything down.
Do it with kids!
This recipe is great and fun to do with kids! Making the truffles is relatively easy and letting them help with the cereal will make for an addictive activity! It might take more time, yet the kids will love how the pinecones will come to life and it will for sure help with fine motor skills (even for the adults!).
FAQs
How to eat?
You can simply chomp down and enjoy these truffles, however, they can be a bit too big. Alternatively these truffles can be easily sliced through with a good knife.
How to store these truffles?
Like any other truffles these Oreo pinecones can be stored in an airtight container and placed in the fridge for not more than 5 days! I wouldn’t recommend freezing them as while defrosting the cereal will become soggy and mushy.

Oreo Pinecone Truffles
Ingredients
- 2 packets oreos about 308 g
- 150 g cream cheese
- Coco Pops Choco Cereal as needed
- icing sugar
Instructions
- Using a food processor, crush the oreo biscuits into fine crumbs.
- Add the cream cheese to the crushed oreos and combine together.
- Divide the mixture into 6. Shape each one into a ball then elongate the top.
- Starting from the bottom, insert the cereal and go all the way up. It's ok if they aren't straight and are overlapping. Just make sure to leave no empty space showing.
- Let rest in the fridge, when ready to serve sprinkle with icing sugar.
Nutrition
If you have any questions, feedback or comments on this recipe, please leave a comment below. Please also rate this recipe by double clicking on the stars below. If you did make this recipe, tag @apronandwhisk and hashtag #apronandwhisk, as I’m curious to see what you create! Don’t forget to subscribe to the mailing list down below so to receive the recipe updates straight to your mailbox!


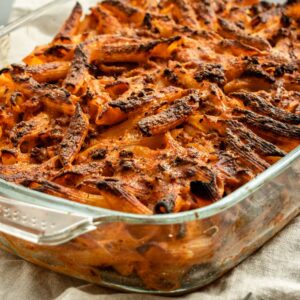

![🇬🇧 Sfineġ tal-Inċova [Traditional Maltese Anchovy Fritters] – small fried dough balls filled with anchovies; a traditional favourite in Malta during this week, and especially today on Good Friday.
You can find the recipe in the bio.
Have a lovely day! ♥️
——————————
🇲🇹 Sfineġ tal-Inċova - blalen żgħar tal-għaġina moqlijin, u bl-inċova ġo fihom; tradizzjonalment ferm popolari matul din il-gimgħa hawn Malta u speċjalment illum fil-Ġimgħa l-Kbira. Tistgħu ssibu r-riċetta fil-link fil-bio.
Nawguralkom il-ġurnata t-tajba! ♥️
#randan #goodfriday✝️ #sfineg](https://apronandwhisk.com/wp-content/plugins/instagram-feed/img/placeholder.png)
Leave a Reply